
One of the more exciting tasks while building up a cellular tracker is the Solar-Power part. Below i will describe my first results – this article will be updated later on when i am running some more tests and gathered more experience and data in general.
The reason why i am considering a Solar-Panel as part of my setup is quite obvious – i want the guy to run forever without human intervention ideally, at least for a very long time.
I thought it would be easier to do this. Buy a solar panel, connect it to a charger and you are done. Especially as my Fona-Board has a charging circuit onboard it looked very straight to me. Thus my first approach was to solder a Mini-USB-Connector to the Solar-Panel and connect it to Fonas USB-Port – which is explicitely designed for charging the attached battery only. The fact that the charging LED immediately lit up made me even more confident that i found the right way to do this. While waiting for an effect on the charge state that was transferred to the Web every 30minutes i read a little bit more on the Adafruit Website which has some excellent articles on batteries, charging and also solar-charging. And as nothing changed on the battery status even after hours of sunshine i stumbled upon this article by Lady Ada: https://learn.adafruit.com/usb-dc-and-solar-lipoly-charger/design-notes
“Most people try to plug a solar panel directly into a lipo charger and while it sort of works, the battery takes forever to charge because the efficiency is terrible!”
That is simply true. Don’t even think about not getting an explicit Solar-Charger, you need it.
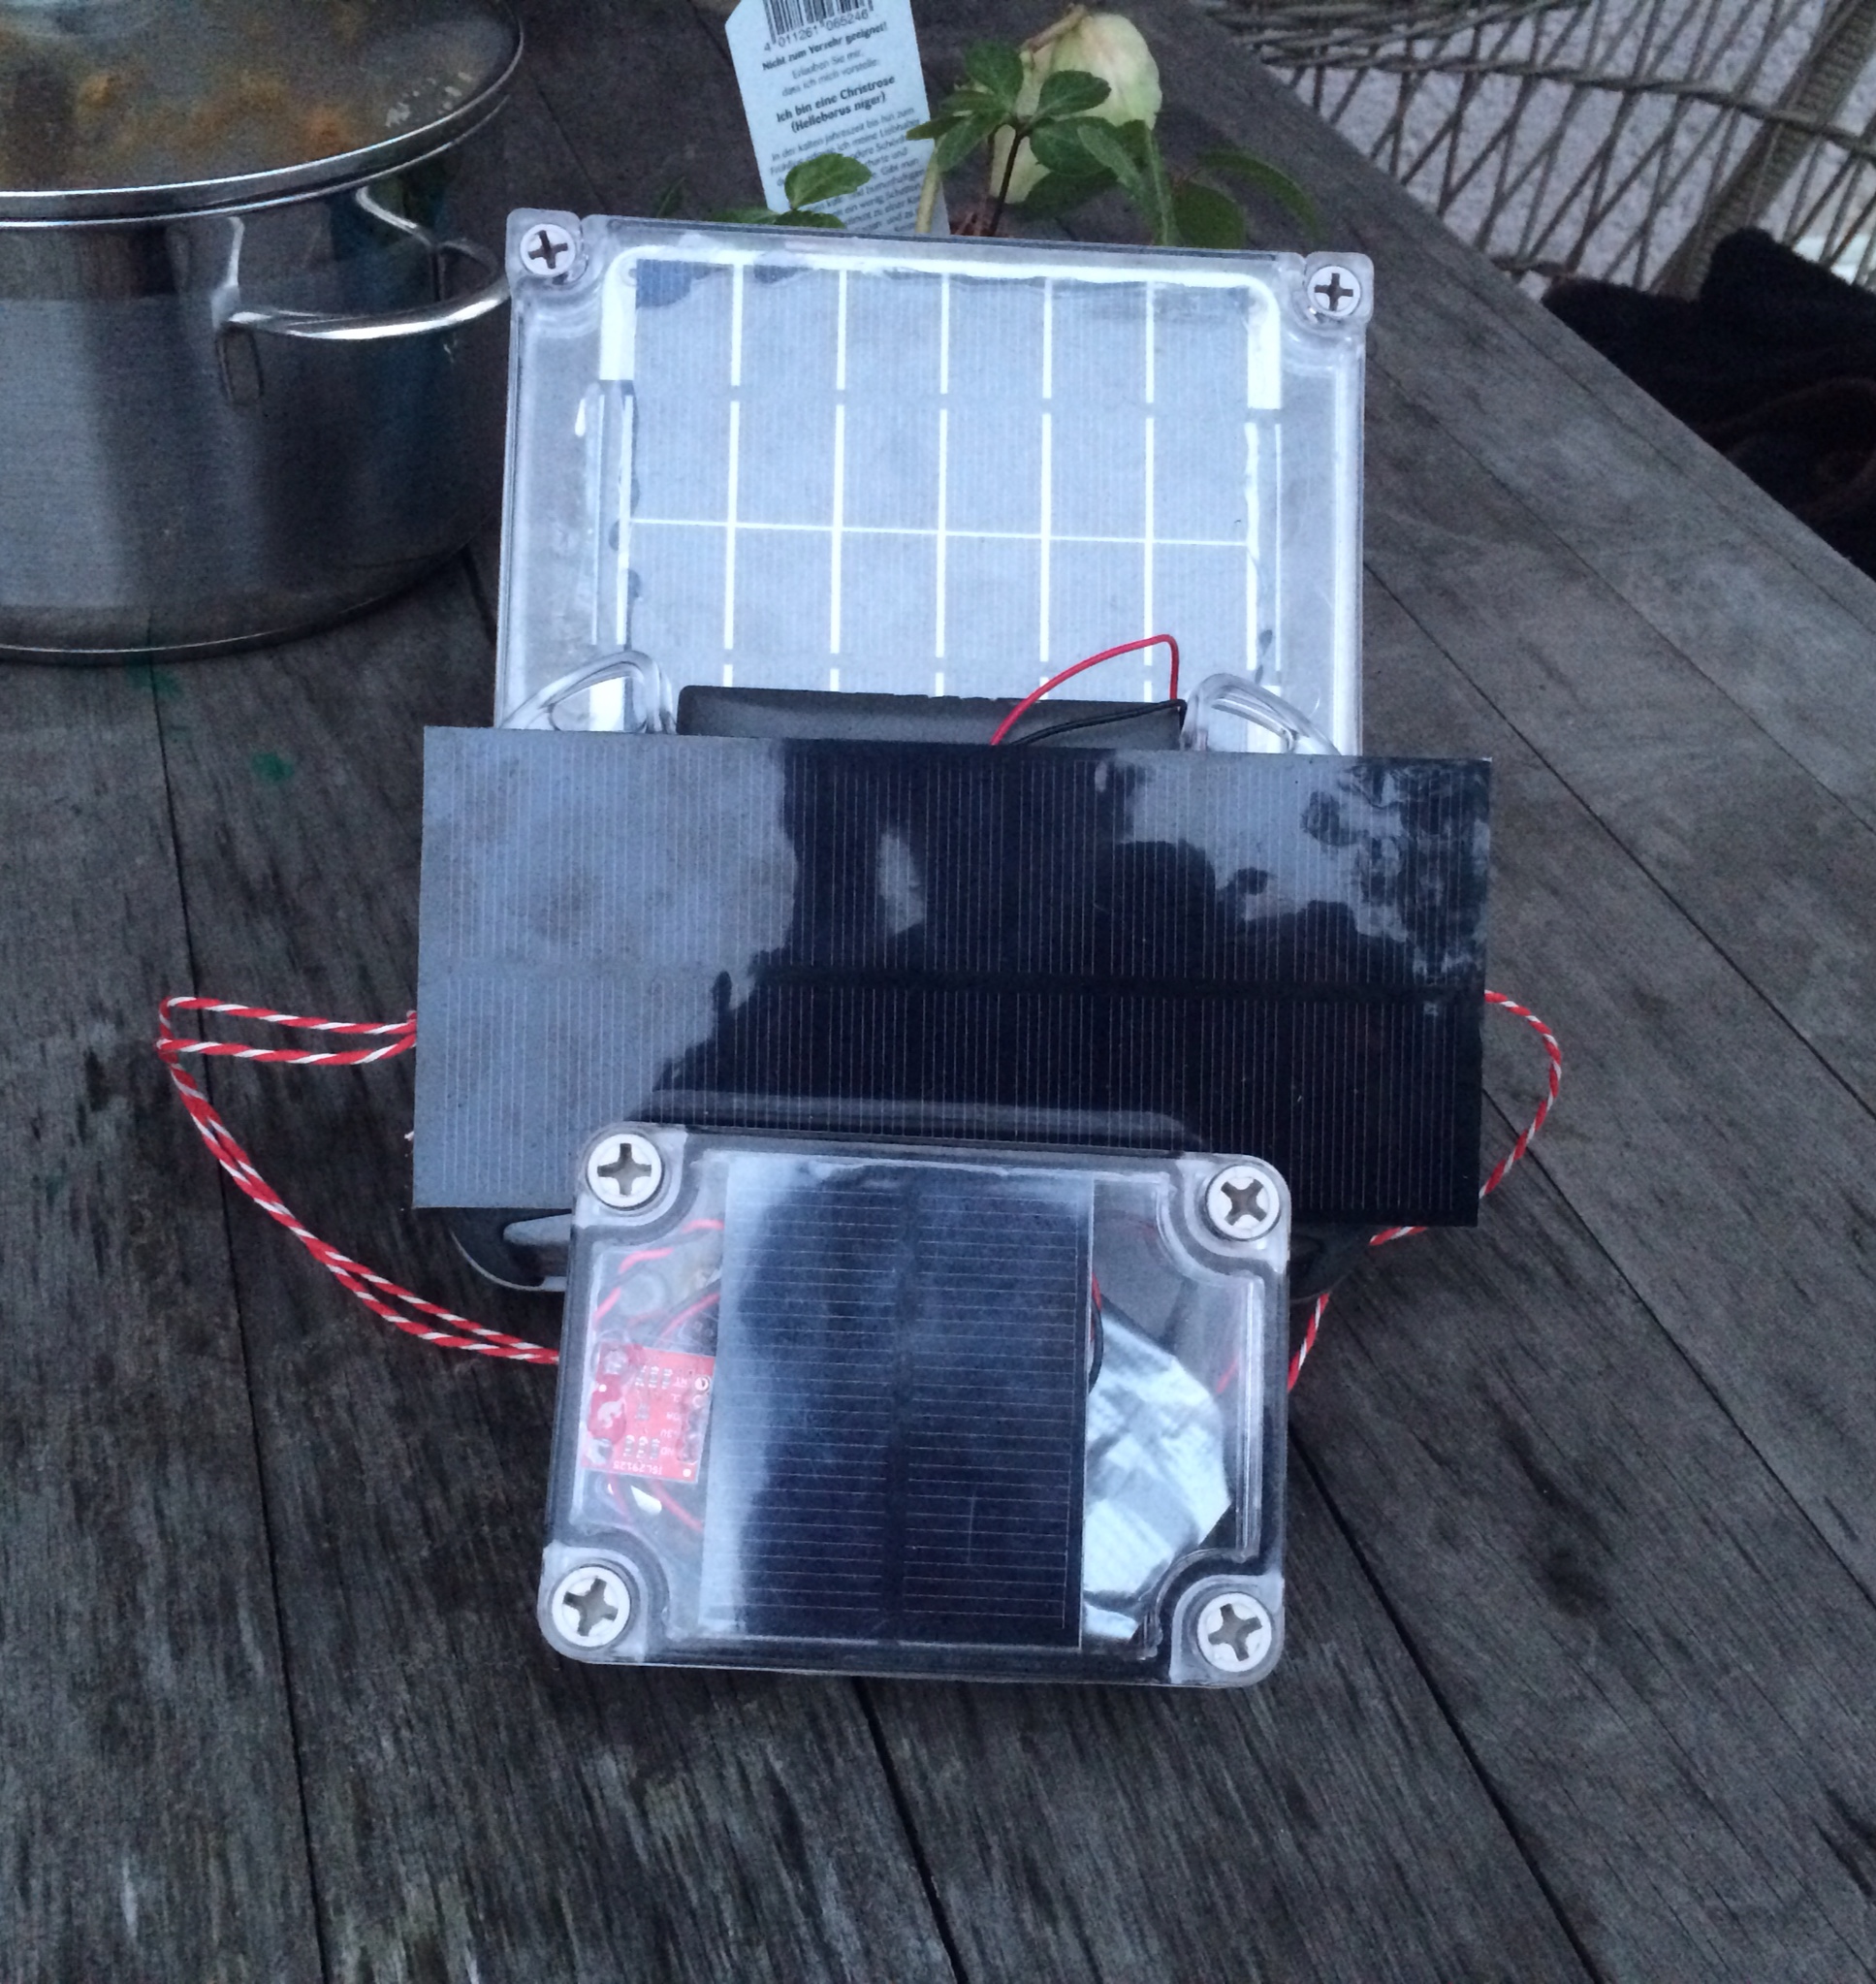
But there are more issues to come. First a board-decision once more… You can get a charger by Adafruit for 17EUR, Sparkfun do have one for roughly 24EUR and the guys from Seeedstudio do also have one for 10EUR. Quite a range. Adafruit’s board is not a true MPPT (Max Power Point Tracker), but they say under the conditions of a small 6v Panel it has nearly the same efficiency at a better price. Sparkfun do say it is a true MPPT charger, it can utilize up to two panels. The board from Seeedstudio is a combined Lipo-USB-Solar Charger and i couldn’t yet figure out whether it does MPPT or not. But it is working.
Another point – in most cases you might want to run your project _and_ charge when the sun is shining in the same time. So the question is how to solve that. Adafruit built in a smart “load-sharing” functionality that seems to be designed for this and makes you avoid a permanent charge-discharge situation for the battery. Nice, but unfortunately didn’t work well in my case and after raising it on the forum someone from Adafruit said i should not connect my project that way but rather to the battery in parallel.
Then i figured out another strange problem: When i attached my project to the charger (in parallel to the battery) it was very unstable – the board tended to hang after only a few cycles. When i attached the battery directly this behavior disappeared, so i would clearly attribute it to the solar-charger/panel. BTW – i saw this with both the Seeedstudio and the Adafruit-Charger – Sparkfun was not yet undergoing this test. What helped to reduce this drastically is to solder a 100nF capacitor into the power-lines between battery and project (it should be a ceramic capacitor). I am guessing that there is some power-drop or other kind of instability in the power-line which is being reduced by the capacitor, but due to the lack of measurement equipment i cant’t prove it yet.
Does it charge? Yes, absolutely! Currently i have three different solar-panels in test, two rather big ones (one 2W from Voltaic Systems, another one with 2W from Seeedstudio and a smaller one with only 1W max power from Seeedstudio). The ones from Seeedstudio are much less expensive than those from voltaic and the small one is really cute and small – it does even fit into the cover of a small project box and comes for less than 5EUR each…
Today we had a rather mild winter day here in Germany with roughly 5 degrees Celsius (41F) and a few hours of nice sunshine. All three devices saw a clear rise in load, the one with the small panel and the seeedstudio charger went from 53% battery to 57% in the afternoon with a 2200mAH battery – quite impressive. The other ones saw similar improvements with bigger batteries. I am planning to conduct a more systematic test with same battery size and constant charger in the future, and will update the article when i have the results.
In general i am quite confident, that the solar-part can work quite well – even in the winter. Perhaps even the small panel is sufficient to charge my project enough through the winter, but a larger panel would make me more confident if i had no access to the system. Another thing to consider: The charger is already the most expensive component in my setup (ok, not the one from seeedstudio, but clearly the ones from Sparkfun and Adafruit). It’s kind of strange to use a charger for 25EUR and the combine it with a tiny 5EUR panel. Perhaps a bigger panel and a smaller battery might make a good solution in the end, we will see.

Pingback: Building a cellular tracker: Part0 – Why future IoT Devices might run on GSM and not Wifi | Making connected stuff
Have a look at this specialized solar panel charging chip:
Click to access dse-cn3063.pdf
The Seeduino Stalker use it there http://www.seeedstudio.com/wiki/Seeeduino_Stalker_v2.3 you can also find the circuit and a small lib that monitors voltage, charging cycles and charging status
LikeLike